Workshop Recap: Mechanical Design Fundamentals for FTC
Our first engineering lecture covered the whole robot: the design process, drivetrains, motors and servos, intakes, slides, linkages, and the control system.
By Grizzly Tech
Summary
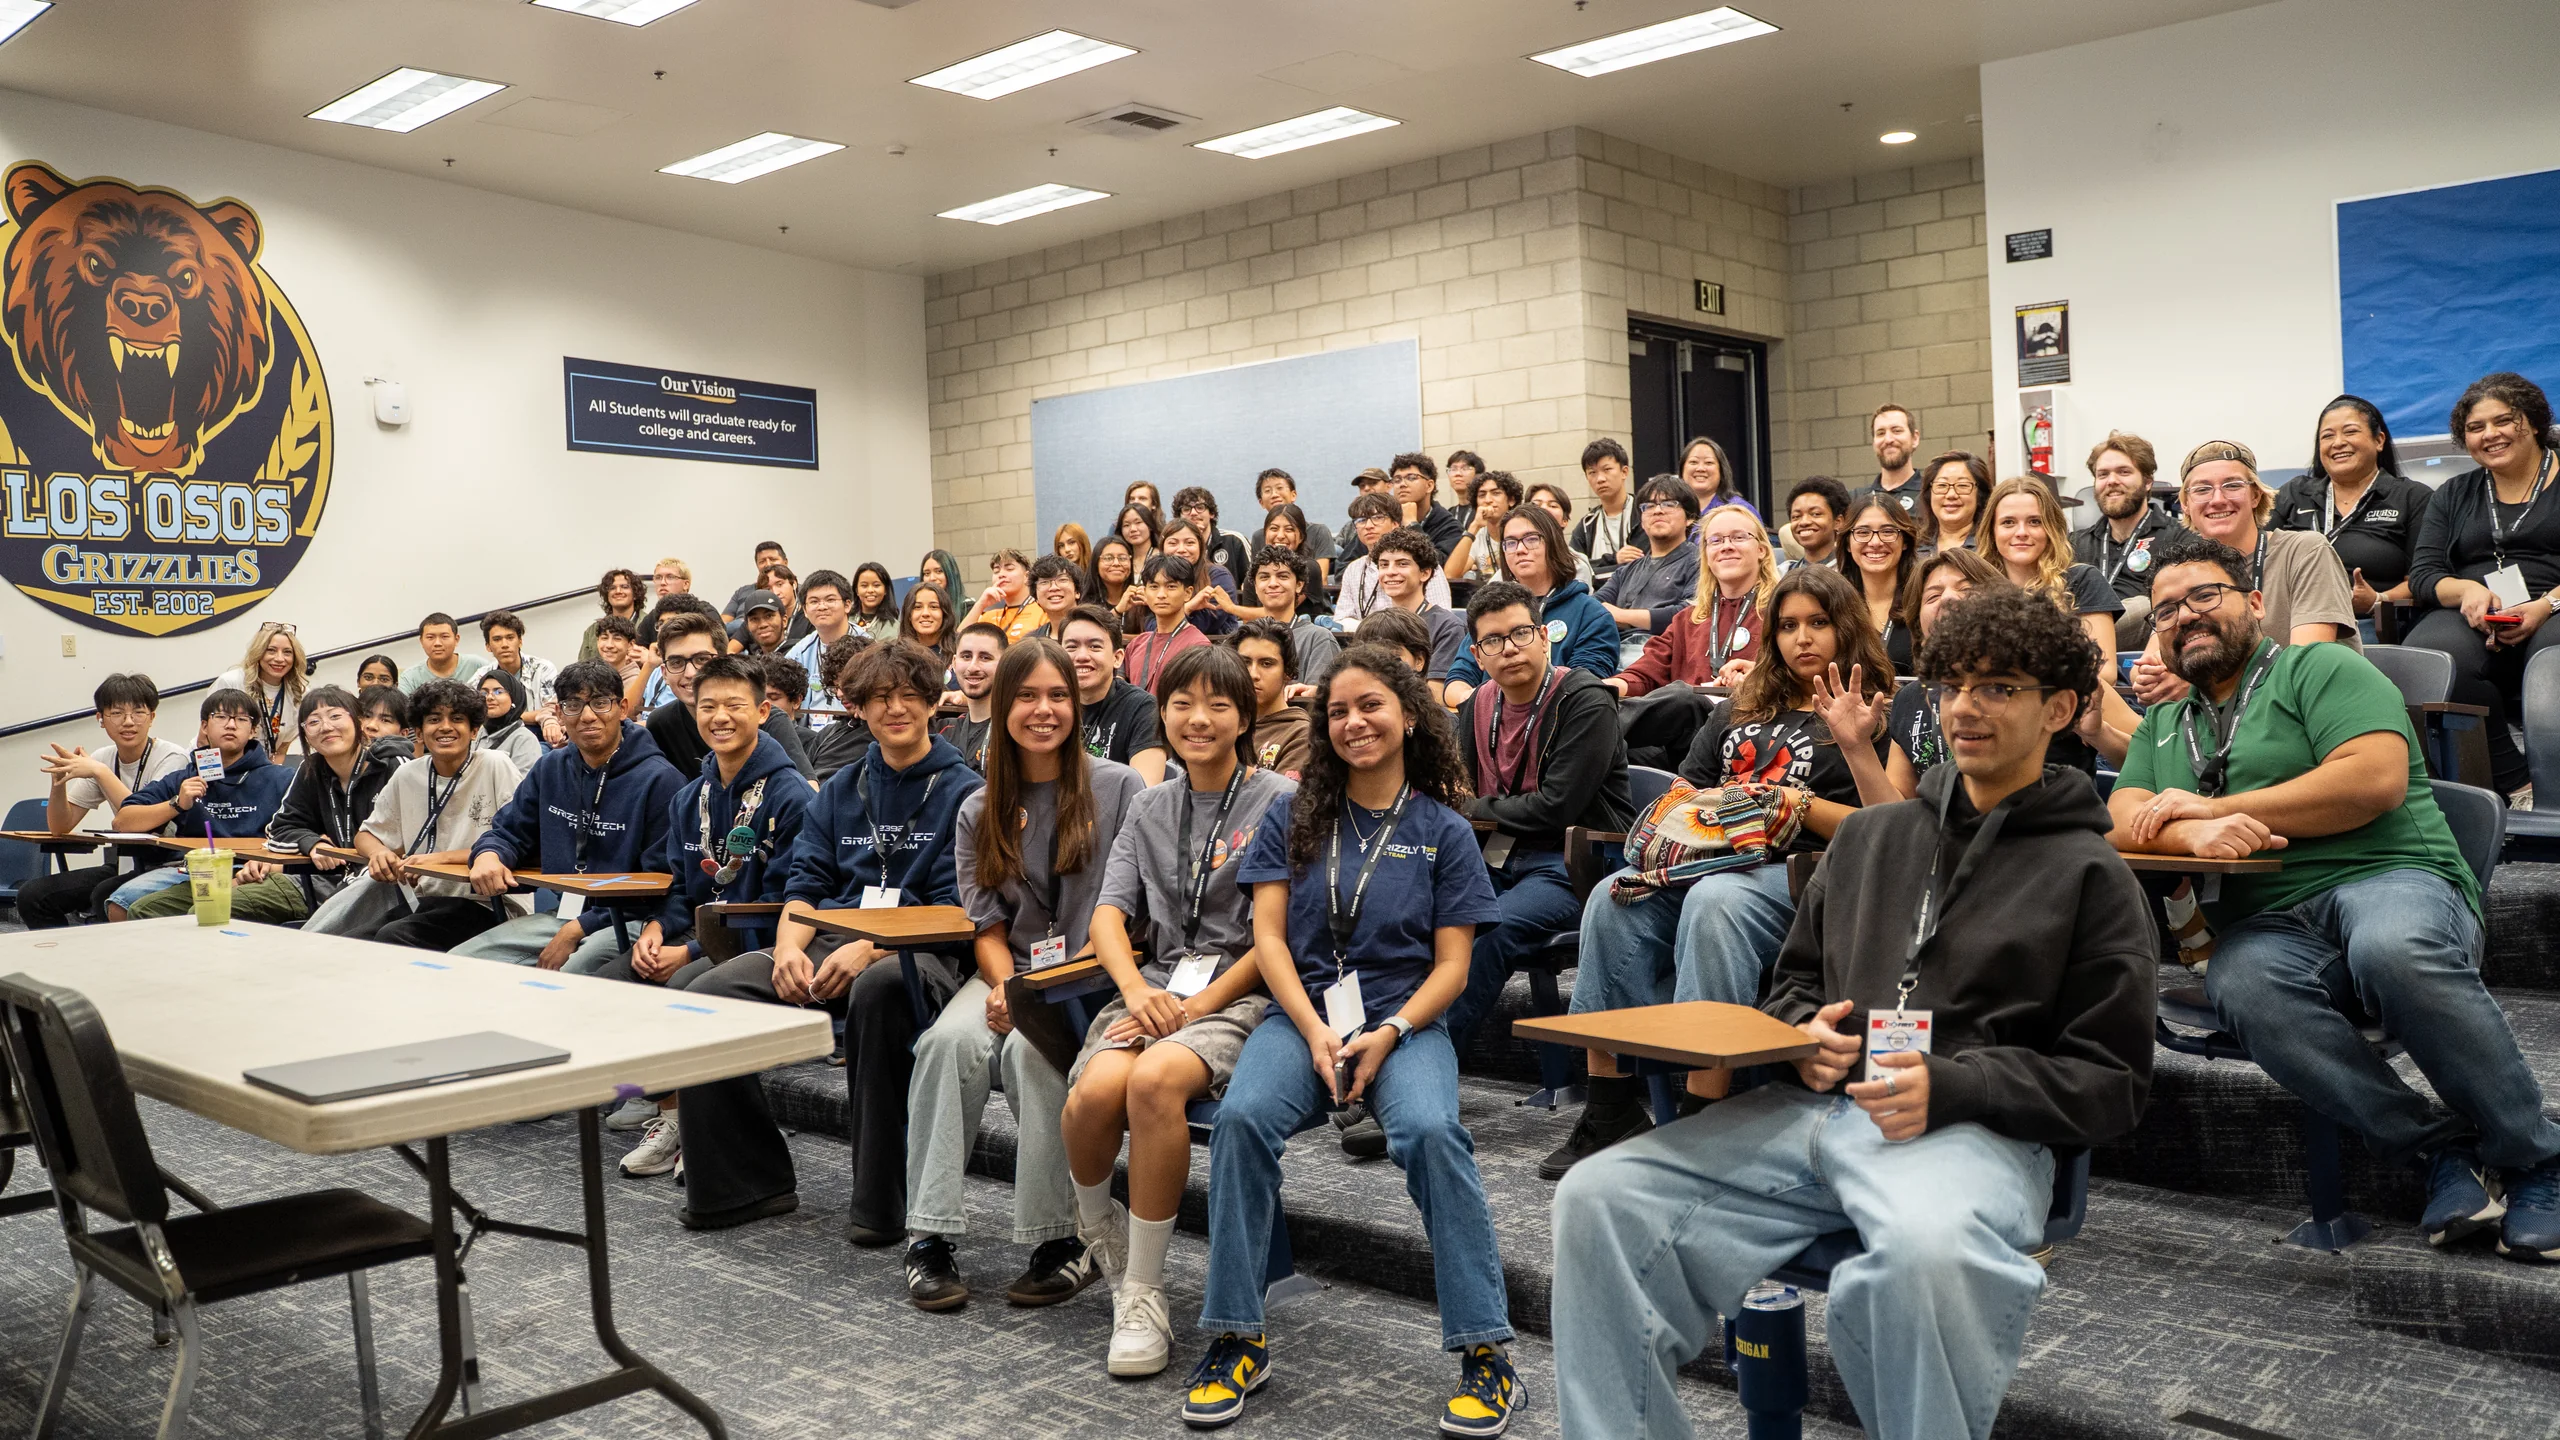
The first mechanical workshop of the year, taught by engineering co-leads Jason Zhu and Neil Benjamin, was a full tour of an FTC robot. Here are the key ideas from each section, for anyone who wants a refresher before build season.
The engineering design process
- Define: identify exactly what problem you're solving.
- Research: build on existing ideas and designs.
- Conceptualize: come up with as many solutions as you can.
- Choose: decide which idea is best, and why.
- Build: prototype your solution.
- Test: measure how it performs.
- Iterate: improve it, then repeat.
The lecture also set out six strategic principles: weight distribution, stability and balance, modularity, precision and alignment, accessibility, and lots of testing and iteration.
Drivetrains
The drivetrain is the base of the robot. If it doesn't work, nothing else does. The workshop compared four common types:
- Tank: traction wheels, strong acceleration, and good defense, but it can't move sideways.
- H-drive: omni wheels plus a perpendicular "strafer" wheel. Very maneuverable, but sometimes needs complex suspension.
- X-drive: four omni wheels at 45°, so strafing and forward speed are equal. Easy to push around and awkward to package.
- Mecanum: wheels with 45° rollers. Versatile and fast, but every wheel needs its own motor and the robot can drift under defense.
Then came the tradeoffs. Larger wheels give more speed and less torque. A higher gear reduction gives more torque and less speed. Traction wheels push hard, omni wheels turn smoothly, and mecanum wheels move in every direction at the cost of pushing power.
Motors and servos
Motors spin continuously and drive heavy loads like the wheels and active intakes. Faster motors trade away torque. Servos move to precise positions, usually within 180–270°, which makes them a good fit for arms, claws, and gates.
Subsystems
- Intake: the first stage of scoring and the one that affects performance most. Passive intakes like claws and funnels use no motors. Active intakes use spinning wheels and can grab several game pieces.
- Outtake and transfer: direct hand-offs, flip-up transfers, or conveyors and ramps that carry game pieces up to the scoring mechanism.
- Linear extension: string- or belt-driven slides. Continuous rigging is simpler, and cascade rigging is faster but harder on the string.
- Linkages: four-bars keep a claw level through its motion, virtual four-bars save weight, and scissor lifts are rare because of slop.
- Power transmission: direct drive, gears, chain and sprockets, or timing belts and pulleys, depending on space, torque, and distance.
Custom machining
Beyond kit parts, teams make custom parts with 3D printing (CAD first, then export an .stl), laser or waterjet cutting in aluminum, steel, or carbon fiber, and CNC machining for custom drivetrains and subsystems.
The control system
A Control Hub and an Expansion Hub power the robot and run its code. The Driver Hub handles driving during matches. Together they support up to 8 motors and 10 servos, plus odometry pods for autonomous localization and sensors for color, distance, and infrared. Clean wiring matters too: power, data, motor, servo, and encoder cables all need sleeves and cable management so nothing snags mid-match.